How to Make an Animation Video Using AI (Step-by-Step Guide for Beginners & Creators)

Want to turn your ideas into smooth, eye-catching animations—without a big studio budget? This practical guide walks you through how to make an animation video using AI from start to finish. You’ll learn how to plan a concept, write a short script, choose an animation style, generate scenes with text-to-video or image-to-video models, add voiceovers and music, and polish your edit for YouTube, Instagram, or a website. We’ll cover the exact steps professionals follow—storyboarding, asset prep, pacing, color, subtitles, and export settings—while keeping everything beginner-friendly. Plus, you’ll see examples, pro tips, and common mistakes to avoid so you can create a compelling animated video in days, not months. Whether you’re a marketer, educator, or indie creator, this guide will help you produce a high-quality AI animation with clear visuals, clean audio, and a story that hooks viewers to the end.
What You’ll Learn
A clean, repeatable workflow for AI-assisted animation
How to pick the right tools for visuals, voice, music, and editing
Prompts, pacing, and structure that keep viewers watching
Pro tips for lip-sync, transitions, color, and export settings
How to tailor your final video for different platforms
What Is an AI Animation (In Simple Terms)?
AI animation uses machine-learning models to help create visual sequences—characters, scenes, motion, and transitions—much faster than traditional frame-by-frame animation. Instead of drawing everything by hand, you guide the model with prompts, reference images, or video clips, then refine the output in an editor. You still need storytelling and editing skills, but AI accelerates the heavy lifting.
Tools You’ll Need (Choose What Fits Your Style)
You don’t need everything on this list—pick one per category to start.
Text-to-Video / Image-to-Video: tools that turn prompts or images into animated shots.
Voiceover: record your own or use an AI voice generator.
Music & SFX: royalty-free library or AI music tool.
Video Editor: any non-linear editor (timeline-based) for sequencing, cuts, and titles.
Subtitle Tool: automatic captioning to improve watch time and accessibility.
Tip: Start lightweight. As your style evolves, add more specialized tools.
Best Free Tools to Make Animation Videos with AI
You don’t need a big budget to start—many AI tools offer free plans or trial credits. Here are some of the best free AI animation tools beginners can use:
1. Pika Labs (Free credits daily)
What it does: Text-to-video and image-to-video animation. Great for cinematic or experimental clips.
Best for: Short creative sequences, animated transitions, and stylized visuals.
2. Runway Gen-2 (Free trial minutes)
What it does: Turn text prompts or images into short animated clips. Offers background replacement, green screen, and editing tools.
Best for: Explainer animations, product teasers, creative video storytelling.
3. Kaiber (Free plan available)
What it does: Animate still images or music videos with AI.
Best for: Artists, musicians, or anyone wanting to add motion to stills.
4. Animaker (Free plan)
What it does: Drag-and-drop animated video editor with AI voiceovers.
Best for: Beginners making explainer videos, social ads, or corporate animations.
5. Canva (Free with AI features)
What it does: Simple animations, transitions, templates, and text-to-image.
Best for: Quick marketing animations, social media posts, and presentations.
6. Powtoon (Free plan)
What it does: Animated explainer templates with characters and text.
Best for: Teachers, trainers, and marketers.
7. Synthesia (Free demo)
What it does: Create AI avatar videos with auto lip-sync and voiceover.
Best for: Talking-head style explainers or corporate training videos.
8. CapCut (Free)
What it does: Mobile and desktop editor with AI auto-captions, motion effects, and templates.
Best for: Quick edits, captions, and exporting in social media formats.
Step-by-Step: How to Make an Animation Video Using AI
1) Define Your Goal & Audience
Before opening any app, write down:
Primary goal: explain, promote, teach, entertain, or pitch.
Audience: age, interests, watch platform (YouTube, Instagram, website).
Success metric: views, conversions, retention, shares, or sign-ups.
This clarity shapes your script length, pacing, and visual style.
2) Write a Tight Script (45–120 seconds for your first project)
Keep it short and visual. Use this simple structure:
Hook (0–5s): one sentence that promises a payoff.
Problem (5–20s): what viewers struggle with.
Solution (20–60s): your idea, product, or lesson.
How it works (60–90s): 2–3 steps with clear visuals.
CTA (last 10–15s): what to do next—subscribe, visit, try, or learn more.
Script tip: Read it out loud. If you run out of breath, shorten the line. Replace jargon with everyday words.
3) Choose an Animation Style & Gather References
Pick a visual direction that matches your message and timeline:
Explainer (flat, clean shapes): best for teaching and business.
Character-led: a guide or mascot drives the story.
Cinematic (stylized, moody): great for product teasers or trailers.
Whiteboard / sketch: educational, low-friction, highly watchable.
Collect 5–10 reference frames. Note the color palette, line weight, camera angles, and motion feel (snappy vs. smooth).
4) Create a Simple Shot List & Thumbnail Storyboard
Open a doc and break your script into shots:
Shot #, Duration (s), Visual idea, On-screen text, Voice line, SFX/Music.
Sketch tiny “thumbnails” (stick figures are fine). This saves hours later because you know exactly what to generate.
5) Prepare Assets (Logos, Screens, Product Images)
Export logos as transparent PNG/SVG.
Collect product screenshots at 1080p or higher.
If using a character, define a model sheet: front, side, expression notes.
Name files clearly (e.g.,
shot03_phone_ui.png). Good naming keeps your edit lean.
6) Generate Visuals with AI
You have three common paths—mix and match:
A) Text-to-Video (Prompt-Driven Shots)
Write prompts that include subject, action, style, lighting, camera, and duration.
Example prompt:
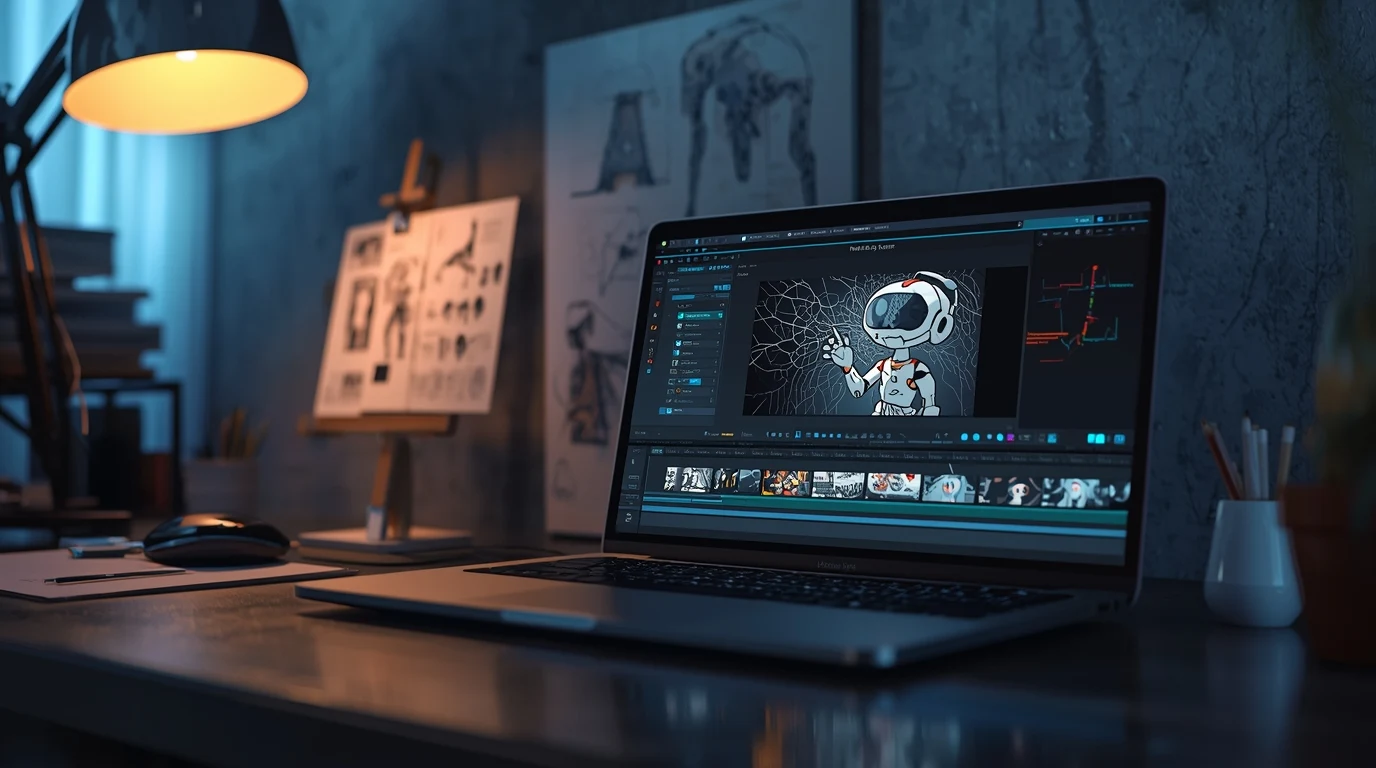
“Flat 2D animation of a friendly robot pointing at a checklist, soft pastel palette, smooth motion, gentle parallax, 3-second clip, clean background.”
B) Image-to-Video (Animate a Still)
Start with a reference image or a branded illustration. Animate with subtle camera moves (pan, zoom) or small character actions (blink, wave). Keep clips 2–5 seconds to make editing easier.
C) Video-to-Video (Stylize a Live Clip)
Record a simple action (e.g., hand revealing a product) and apply a stylized look. This yields consistent motion with an animated finish.
Quality tips
Generate short clips (3–5s), then stitch. Long clips are harder to control.
Lock a seed or preset for style consistency across shots.
If a shot looks busy, simplify the background; focus on the subject.
7) Animate Characters & Lip-Sync (Optional but Powerful)
If your video relies on a character or talking head:
Define the voice first. Pace and emotion guide mouth shapes.
Use auto lip-sync tools to match the voiceover.
Add micro-motions: blinks, head tilts, idle hand moves. These tiny details make characters feel alive.
8) Record or Generate Voiceover
Best option: record your voice for authenticity.
Use a quiet room, speak 10–15% slower than normal, and smile (it helps tone).
If you use AI voice, pick a natural tone and adjust pace, pitch, and pauses.
Export your VO as WAV 48kHz to avoid compression artifacts during editing.
9) Add Music & Sound Design
Choose music that supports the mood. Keep it -20 to -14 LUFS beneath the voice.
Use whooshes, clicks, and chimes to emphasize transitions or on-screen text.
Avoid lyrical tracks under narration—they compete with the message.
10) Edit & Sequence in a Video Editor
Bring all clips into a timeline and build your story:
Rough cut
Lay down the voiceover first. It’s your spine.
Add visuals to hit important words (“beats”).
Trim silence and remove redundant lines.
Fine cut
Tighten pacing: most shots work best at 2–4 seconds.
Add L-cuts and J-cuts (audio leading or trailing visuals) for flow.
Use match cuts (similar shapes or motion) between scenes to feel intentional.
Graphics & titles
Keep on-screen text short (3–7 words).
Use high contrast (dark text on light or vice versa).
Add a lower-third for names or product features.
11) Color, Consistency, and Branding
Use a simple 3-color palette: primary, secondary, accent.
Keep stroke widths and shadow styles consistent.
Add your logo bug in a corner at low opacity (not during the hook).
12) Captions & Accessibility
Generate captions, then proofread them.
Burn-in for social platforms where viewers watch muted.
Place subtitles inside a safe margin so they don’t get cropped on mobile feeds.
13) Export Settings That Just Work
Resolution: 1920×1080 (start here), or 1080×1920 for vertical.
Frame rate: 24 fps for a filmic feel or 30 fps for snappier motion.
Codec/container: H.264 in MP4.
Bitrate: 8–16 Mbps for 1080p (social platforms will re-encode).
Audio: AAC, 320 kbps.
14) Optimize for Each Platform
YouTube: 16:9, strong thumbnail, keyword-rich title + description, chapters.
Instagram Reels/TikTok: 9:16, hook in first 2 seconds, captions large, keep under 60–90s.
Website/Landing page: autoplay muted, lightweight (compress), add transcript for SEO.
Example Walkthroughs (So You Can Copy the Flow)
Example A: 30-Second Product Teaser
Goal: tease a new app feature.
Style: sleek, minimal 2D with soft gradients.
Shots:
Hook (2s): “Meet the fastest way to plan your week.”
Problem (5s): messy calendar montage.
Solution (10s): animated UI flows in, one feature per beat.
Social proof (5s): 5-star icons “Loved by 20k+ teams.”
CTA (5s): logo + “Try it free today.”
Tips: keep transitions aligned to music hits; use subtle UI parallax.
Example B: 60-Second Educational Explainer
Goal: explain “What is machine learning?” to beginners.
Style: whiteboard + colorful icons, friendly VO.
Shots:
Hook: “Your phone already uses ML 50 times a day—here’s how.”
Explain concepts with simple icons (data → model → predictions).
Real-life examples (photos auto-tagging, spam filters).
CTA: “Follow for more quick tech explainers.”
Tips: keep sentences under 12–14 words; big, legible captions.
Example C: Character-Led Social Short
Goal: entertain and build brand personality.
Style: mascot character, bold colors, playful motion.
Beats:
Mascot faces a problem (late for a meeting).
Tries chaotic solutions (tiny jump cuts = humor).
Finds your product and succeeds.
Button CTA end card.
Tips: micro-expressions and sound effects sell the punchlines.
Pro Tips for Better AI-Animated Videos
Prompt small, iterate fast: generate short clips, review, then expand.
Reuse assets: keep a style kit (palettes, textures, transitions) for consistency.
Block the story with temp VO/music first—animation aligns to rhythm.
Use negative prompts (“no clutter, no text on background”) to reduce noise.
Stabilize camera movement (gentle pan/zoom). Avoid dizzy motion.
Mix real + AI: shoot hands, products, or screens; stylize lightly for authenticity.
Version control: save project states (
v1_rough,v2_music,v3_color).Accessibility is retention: clear captions and on-screen labels keep viewers watching.
Common Mistakes to Avoid
Too long before payoff: the hook must promise value immediately.
Over-busy frames: competing elements reduce clarity; simplify.
Inconsistent style: lock a seed/preset, keep fonts and line weights uniform.
Ignoring audio quality: poor VO ruins great visuals—treat your room, speak clearly.
No CTA: tell viewers exactly what to do next.
Relying 100% on AI: human editing and story sense are what make it great.
Light Production Plan (Time & Budget Starter)
Day 1: script, shot list, references (2–4 hours).
Day 2: generate visuals (2–6 hours, iterative).
Day 3: voice, music, edit rough cut (3–5 hours).
Day 4: captions, color, final export (1–3 hours).
Budget can be close to $0 with free tiers and stock music, or scale up with paid voices, premium music, and higher-resolution renders as you grow.
Simple Prompt Frameworks You Can Copy
Explainer shot: “Flat 2D icon animation of [concept], clean background, soft shadows, smooth easing, 3-second clip.”
Character reaction: “Cartoon character [emotion] close-up, subtle head tilt and blink, warm lighting, 2 seconds.”
UI scene: “Minimal phone UI floating with gentle parallax, crisp edges, 3 seconds, product colors only.”
Cinematic cutaway: “Isometric city at dusk, slow camera push-in, hazy light rays, 4 seconds.”
Quality Control Checklist (Before You Publish)
Does the first 3–5 seconds hook?
Is the message crystal clear without audio? (Test on mute.)
Are captions accurate and readable on a phone?
Do colors, fonts, and line weights match your brand?
Are there any jumps in style across shots? (Regenerate or regrade.)
Is audio level balanced (VO clear, music supportive)?
Did you include a clear CTA?
Conclusion
AI can’t replace your taste, but it can multiply it. With a focused script, a simple storyboard, and a handful of well-chosen tools, you can produce an animation that looks polished, sounds professional, and holds attention. Start small: a 30–60 second piece is the perfect playground. Keep your prompts tight, your edits shorter than you think, and your captions clean. Once you ship the first one, you’ll move faster, discover your visual voice, and build a repeatable system for videos that inform, persuade, or delight—on any platform.